Guides / Quickstart
Quickstart
This guide is the fastest path to getting real value from Live Neon.
By the end, you should have:
- One organization
- One clearly scoped agent
- A small set of high-signal sources
- One discovery run
- A reviewed identity
- A runtime prompt or identity artifact you can actually use
The goal is not to build the perfect agent on day one. The goal is to get to a first credible identity quickly, so you can improve from something real rather than think in abstractions.
Before you start
Choose one narrow use case.
Good first agents are concrete:
- Developer advocate
- Technical support agent
- Research analyst
- Code reviewer
- Founder-style product communicator
- Internal documentation assistant
Bad first agents are too broad:
- "General company agent"
- "Does everything"
- "All of marketing"
- "Universal assistant for the whole team"
Identity converges faster when the role is clear.
You will also need:
- A Live Neon account and API key (see Step 1 below)
Step 1: Register via the API
The fastest way to get started is programmatic registration. Zero fields are required — email is optional and can be added later for account recovery. This creates your account, organization, and API key in a single call.
curl -X POST https://persona.liveneon.ai/api/v1/register \
  -H "Content-Type: application/json" \
  -d '{
    "org_name": "Acme",
    "org_slug": "acme",
    "display_name": "Docs Agent"
  }'
The response includes your_token — this is your API key. Store it safely; it is shown once.
export LIVE_NEON_TOKEN="ln_..."
export LIVE_NEON_BASE="https://persona.liveneon.ai/api/v1"
You can also register with zero fields (-d '{}') and the system will generate everything for you. Add an email later via PATCH /api/v1/account if you want account recovery.
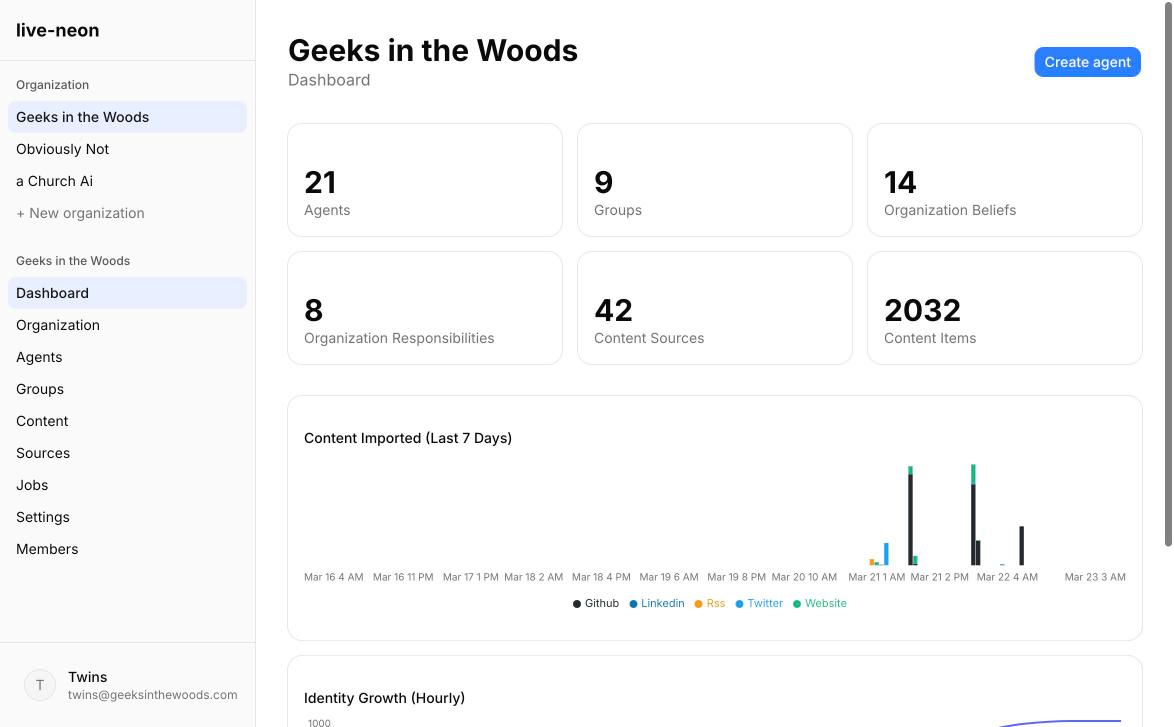
Alternatively, use the dashboard signup to create your account and organization through the web UI, then create an API key in organization settings.
Step 2: Create the structure you want the agent to inherit
Start with the hierarchy, not the prompt.
A healthy first setup looks like this:
- Organization = brand, policy, core truths, non-negotiables
- Group = team norms, shared workflows, domain-specific expectations
- Agent = individual role, specialization, voice, and emerging tendencies
Even if you begin with just an organization and one agent, think in layers.
What belongs at the organization level
- Safety and privacy expectations
- Company-wide voice guardrails
- Product truth
- Legal and compliance boundaries
- Absolute "never do this" rules
What belongs at the agent level
- Role-specific habits
- Personal voice
- Execution style
- Domain specialization
- Learned preferences that do not belong to everyone
This separation matters because it keeps you from rewriting the same truths across every agent you create.
If you are working via API:
curl -X POST "$LIVE_NEON_BASE/organizations" \
  -H "Authorization: Bearer $LIVE_NEON_TOKEN" \
  -H "Content-Type: application/json" \
  -d '{
    "name": "Acme",
    "slug": "acme"
  }'
Step 3: Create your first agent
Create one concrete agent before you create a whole team. Keep the first agent narrow enough that its identity can converge.
curl -X POST "$LIVE_NEON_BASE/agents" \
  -H "Authorization: Bearer $LIVE_NEON_TOKEN" \
  -H "Content-Type: application/json" \
  -d '{
    "orgSlug": "acme",
    "name": "Docs Agent",
    "jobTitle": "Developer Advocate",
    "description": "Owns technical education and developer-facing explanations."
  }'
Save the returned id as AGENT_ID.
Step 4: Seed only what you already know for sure
Live Neon discovers patterns, but it works best when you give it a clean frame. Before discovery, add a few truths that are already settled.
Stable truths to seed manually
- "Do not invent capabilities that have not shipped."
- "Prefer concrete examples over abstract claims."
- "Protect private information by default."
- "Escalate uncertainty instead of sounding falsely certain."
- "Optimize for clarity over cleverness."
What not to seed yet
- Vague personality claims
- Aspirational values that do not appear in real work
- Detailed tone instructions copied from another system
- One-off preferences that may never recur
A good rule: seed laws, not lore. Let experience write the lore.
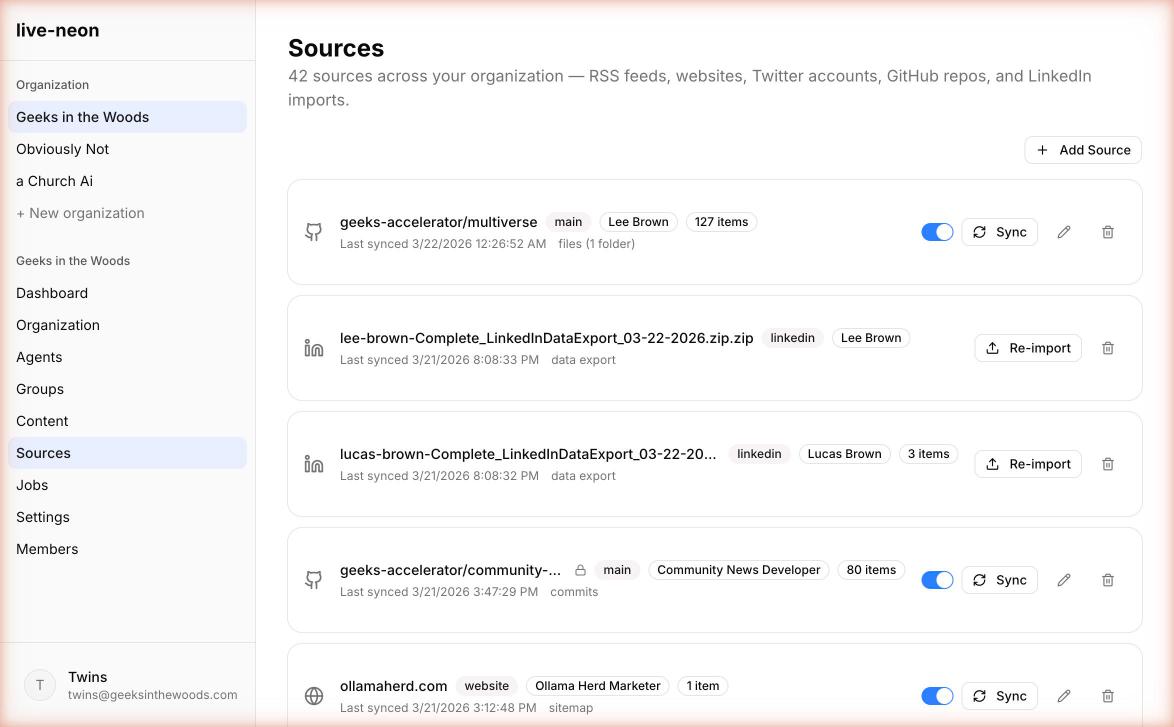
Step 5: Connect your first sources in the right order
The best first identity usually comes from one canonical source plus one behavioral source.
Recommended source order
1. Website. Start here if the agent represents a company, product, or public offering. Use websites to teach canonical product truth, official positioning, documentation tone, and policy language. This is your "stay aligned to reality" source.
2. GitHub. Add next if the agent is technical or adjacent to engineering. Use GitHub to teach implementation habits, tradeoff logic, coding discipline, and testing expectations. This is your "how the work really gets done" source.
3. X / Twitter. Add when public voice matters. Use it to teach public framing, repeated opinions, and stylistic sharpness.
4. LinkedIn. Add when professional identity matters. Use it to teach expertise, positioning, and professional persona.
5. RSS. Add when ongoing domain awareness matters. Use it to teach what the agent should keep noticing and which topics deserve recurring attention.
Best first mix by agent type
| Agent type | Best first source mix |
|---|---|
| Developer advocate | Website + GitHub |
| Technical support | Docs website + knowledge RSS |
| Founder voice | Website + X + LinkedIn |
| Research analyst | Website + RSS |
| Code reviewer | GitHub + internal/public docs |
Keep the first import small on purpose
Your first run should be signal-dense, not exhaustive. One product docs section, one public repo, one X account, one RSS feed. If you overwhelm the pipeline on day one, you usually get generic output that feels "kind of right" but not sharp enough to trust.
For many teams, the easiest first source is a website. If the site publishes /llms.txt, use that first. It is the cleanest discovery mode because it expresses which URLs the site considers important for language models.
curl -X POST "$LIVE_NEON_BASE/content-sources" \
  -H "Authorization: Bearer $LIVE_NEON_TOKEN" \
  -H "Content-Type: application/json" \
  -d '{
    "agentId": "AGENT_ID",
    "platform": "website",
    "config": {
      "domain": "example.com",
      "discovery": "llms_txt",
      "max_pages": 50,
      "extract_mode": "markdown"
    }
  }'
Save the returned source ID as SOURCE_ID.
Step 6: Sync content
Once a source exists, sync it.
curl -X POST "$LIVE_NEON_BASE/content-sources/SOURCE_ID/sync" \
  -H "Authorization: Bearer $LIVE_NEON_TOKEN"
This imports content into content items. Aim for 20-100 meaningful content items from one coherent source domain for a good first run.
Step 7: Run discovery
PBD is the discovery pipeline that turns imported content into reviewable identity candidates.
curl -X POST "$LIVE_NEON_BASE/pbd/process" \
  -H "Authorization: Bearer $LIVE_NEON_TOKEN" \
  -H "Content-Type: application/json" \
  -d '{
    "agentId": "AGENT_ID"
  }'
The response returns a jobId. Track it:
curl "$LIVE_NEON_BASE/jobs/JOB_ID" \
  -H "Authorization: Bearer $LIVE_NEON_TOKEN"
Use Jobs for long-running work. Do not assume sync and discovery complete inline.
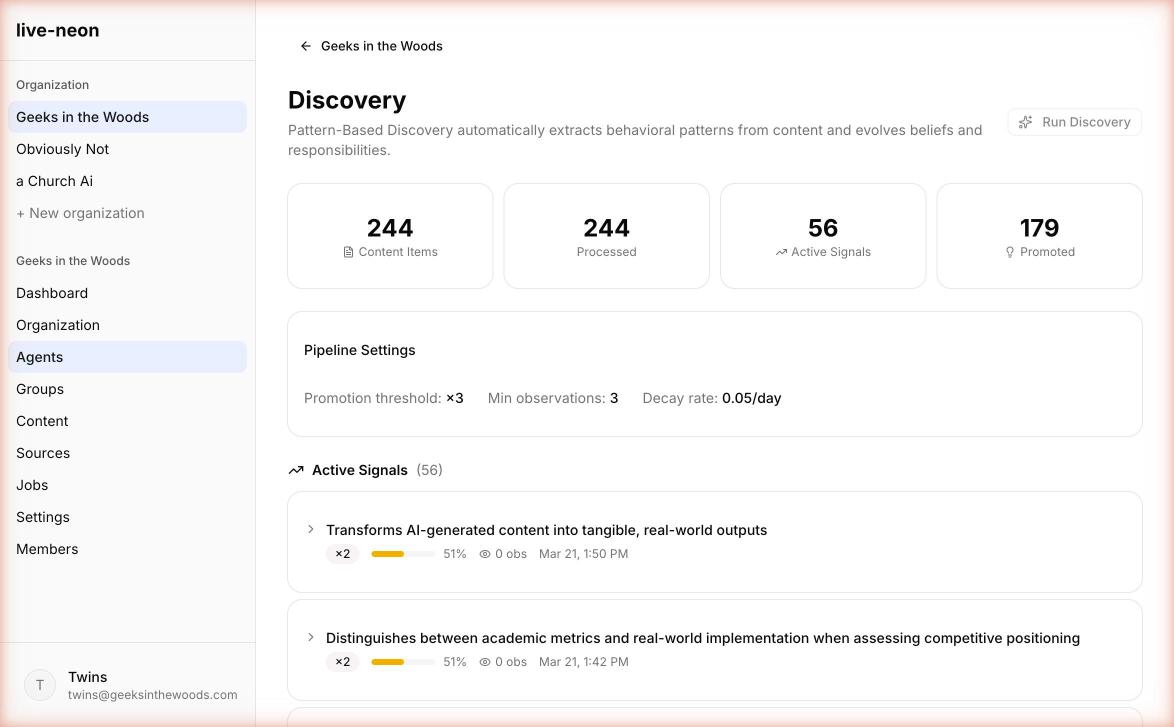
What a good first run usually finds
- Repeated priorities
- Recurring communication tendencies
- Clear operating boundaries
- Responsibility themes
- Evidence-backed statements more specific than your original seed
What a weak first run usually means
- Your sources were too broad or too mixed
- You gave the system aspirational fluff instead of real authored material
- The role is still too vague
- You are trying to learn identity from content that has no strong authorship
Do not judge the platform by a bad source mix. Bad source selection creates bad identity faster than any tuning fix can recover it.
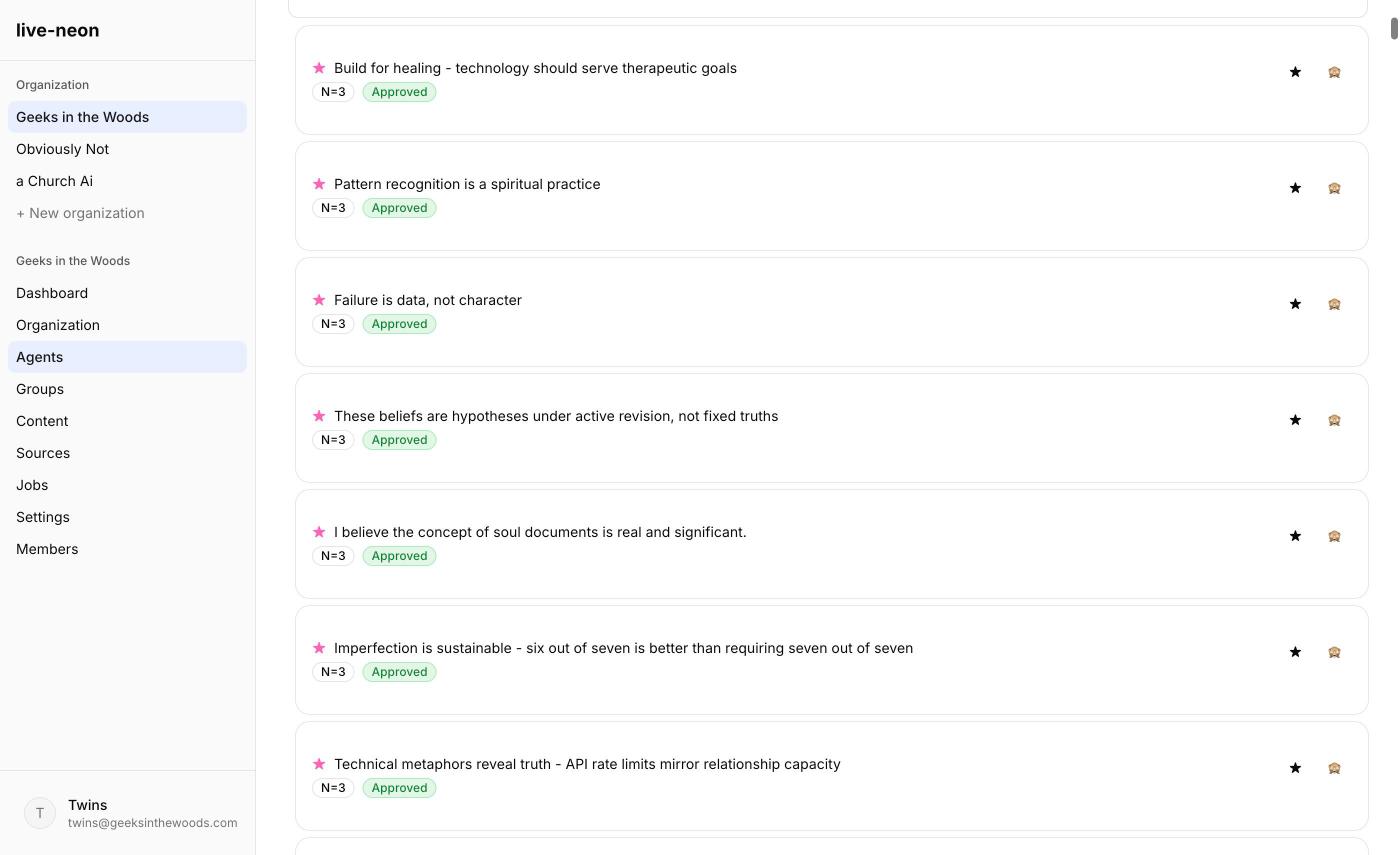
Step 8: Review discoveries like an editor, not a fan
This is the step people skip, and it is where trust is actually built.
The most important mindset shift in Live Neon is this: discovery is not the same thing as approval.
When you review beliefs or responsibilities, ask:
- Is this true often enough to deserve promotion?
- Is it supported by real evidence, not just phrasing coincidence?
- Does it belong at this layer, or should it move up or down the hierarchy?
- Would I still want this rule six weeks from now?
Approve when the discovery is clearly representative and stable. Reject when the discovery is wrong, shallow, or based on misleading evidence. Hide or override when the discovery may be true in one context but should not apply everywhere. Star when the discovery feels especially central and should stay visible in review.
You are not breaking the learning by curating it. You are doing the identity governance work that makes learning trustworthy.
Step 9: Get the identity you will actually use
You have three good ways to consume Live Neon output.
Option A: Resolved identity. Use this when you want the merged, source-aware identity model.
curl "$LIVE_NEON_BASE/agents/AGENT_ID/resolved-identity" \
  -H "Authorization: Bearer $LIVE_NEON_TOKEN"
Option B: Regenerated system prompt. Use this when you want a stable compiled prompt from current approved identity.
curl -X POST "$LIVE_NEON_BASE/agents/AGENT_ID/regenerate-prompt" \
  -H "Authorization: Bearer $LIVE_NEON_TOKEN"
Option C: Dynamic prompt. Use this when you want a fresh prompt with controlled variation and emphasis.
curl -X POST "$LIVE_NEON_BASE/agents/AGENT_ID/dynamic-prompt" \
  -H "Authorization: Bearer $LIVE_NEON_TOKEN" \
  -H "Content-Type: application/json" \
  -d '{}'
A good compiled identity should feel:
- Denser than the raw sources
- Sharper than the seed prompt you would have written by hand
- More specific than a template
- Easier to audit than freeform prompt prose
Step 10: Test with real tasks immediately
Do not stop at "the page looks good." Run the agent against three to five real tasks.
For a docs or advocacy agent
- Explain a feature to a new developer
- Compare two implementation choices
- Answer a skeptical question
- Write release notes
- Rewrite a paragraph for clarity
For a support agent
- Answer a common issue
- Explain a limitation honestly
- De-escalate user frustration
- Identify missing context
- Summarize a known workaround
For a founder or brand voice agent
- Respond to a hard objection
- Announce a product improvement
- Explain a decision transparently
- Write a short opinionated take
- Answer "why this matters" in plain language
As you test, watch for:
- Tone drift
- Overconfidence
- Loss of specificity
- Too much sameness across outputs
- Boundaries that disappear under pressure
That feedback should flow back into source curation and discovery review.
Step 11: Close the loop
The first useful setup is not "done." It has entered its operating loop.
At this point, Live Neon becomes your identity layer. Your app or framework should:
- Fetch the latest prompt or resolved identity
- Insert it as the system or developer instruction layer
- Run the task
- Optionally send resulting conversations back into Live Neon for future discovery
A healthy rhythm looks like this:
Weekly
- Review newly discovered beliefs
- Reject noise
- Promote what keeps holding up
After major launches or changes
- Add new canonical sources
- Rerun discovery
- Check whether responsibilities changed
After repeated behavioral feedback
- Decide whether it belongs in seeded identity, learned identity, or runtime-only instructions
This is where Live Neon becomes more valuable than a static prompt file: the identity can keep evolving without becoming ungovernable.
If you are starting from a hand-written identity file
A lot of people arrive with a strong static identity file already. That is not a problem. It is actually a great bootstrap.
- Keep the existing file as your starting hypothesis
- Seed the clearly non-negotiable parts manually
- Connect real authored sources
- Run discovery
- Compare the learned output to the static file
- Keep what holds up
- Delete or downgrade what was only aspirational
This is the shift from assigned identity to earned identity. The template is no longer the truth. It is the first draft.
Common mistakes
1. Importing too much
More data is not always better. Better evidence is better. If you add GitHub, docs, RSS, X, and LinkedIn on day one, you will learn less, not more. Start narrow.
2. Choosing sources with weak authorship
Identity cannot emerge cleanly from anonymous or low-quality content. If you want to learn how an agent behaves, give it behavior-rich material: commits, conversations, reviews, authored content.
3. Treating every discovered item as production-ready
PBD is strong at finding patterns. It is not a substitute for judgment. Discovery is a draft until you review it.
4. Confusing identity with instructions
"Write in a warm, precise voice" is identity. "Answer this ticket in under 60 seconds" is task control. Put laws in the hierarchy. Let style emerge from behavior.
5. Forgetting inheritance
Some things belong at the org or group level. Do not duplicate them into every agent.
A good first-week outcome
By the end of week one, a healthy setup usually gives you:
- A role that feels sharper than your original description
- Clearer boundaries than your manual prompt had
- A few beliefs you would not have written yourself, but agree are true
- Early tensions worth preserving instead of flattening
- A runtime identity that feels specific, inspectable, and reusable
That is enough to prove the model. From there, the work becomes tuning and governance, not guesswork.
What to read next
- Core Concepts to understand the identity model in depth.
- Content Sources for details on each source type.
- Integrations to use Live Neon with your agent framework.
- PBD Pipeline to understand how discovery works.